How to run?
- This software is deployed by .NET "ClickOnce" - that means it will run inside temporary area of windows. So nothing will be installed on your computer.
- You can create floor plans with AutoCAD then import them into Eress (save as *.dxf ). Pleas note that some advance figures (such as "wall", "door", "block" etc.) need to be exploded into basic figures: selected all
figures and click "Modify > Explode" within AutoCAD (usually 2 times of Explode are enough).
- After import floor plan (*.dxf) into Egress, you can also modify it as well as create new figures (such as line, polyline, ractangle, circle, etc.) in the same way as AutoCAD.
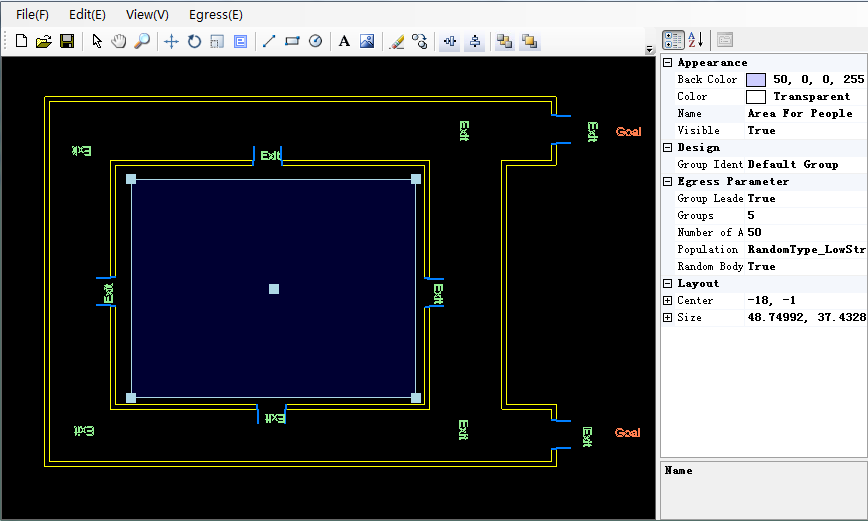
- Then you can set "Exit Sign", "Goal Pont", and "Area For Agents" and some parameters for your simulation project. (Note: If you fail to set Exit Signs appropriately, e.g. in wrong direction, agents may get lost during egress). Then save your simulation project(as *.esp) or start simulator by click "Egress > Start Simulator".
- Within simulator, you may use the following keys to interact with the simulator:
['1'] -- Perspective view
['2'] -- Top view
['3'] -- Isometric view
['F'] -- Run/Pause
['S'] -- Simple/complex display
['Y'] -- Density map (on/off)
['R'] -- Restart
['T'] -- Reset
['C'] -- Rotate view (+)
['D'] -- Rotate view (-)
['O'] -- Zoom out
['I'] -- Zoom in
Note: each time when you finish simulation, please return to console: the simulator may seems no response at that time.
- You may Download Sample Simulation Projects here or create you own projects.
Note: Since developed for academic research purpose, the software has NOT been fully debugged. You can use this software freely for non-commercial purpose at your own risk. We takes no responsibility for any "surprise" it might cause. Nevertheless, constructive comments, suggestions, and bug reports are welcomed.
|